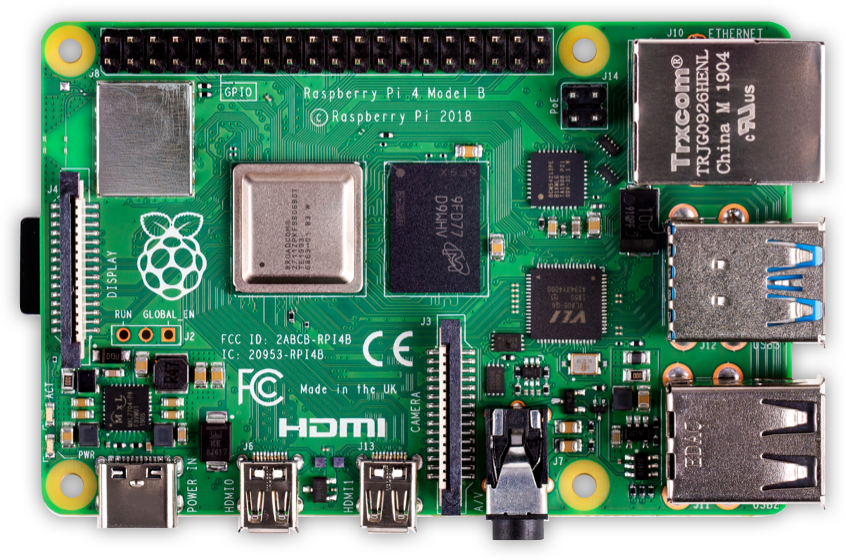
Raspberry Pi
Because of its low price, small form factor and the low energy consumption, the Raspberry Pi is a quite popular platform and thats no different for Naomi. It is favored amongst existing users and a recommended choice for newcomers.
If you want to learn more about the possibilities of the Raspberry Pi and Linux in general, many tutorials can be found on the internet. These including the official raspberrypi.org help articles or the in-detail articles at eLinux.org.
Recommendations for a "headless" hardware setup:
- Raspberry Pi 3 Model B+.
- USB Microphone (Has been tested with Akiro Kinobo USB Microphone) but should work with just about any USB microphone*
- 8GiB SD Card (16GiB recommended if you would like to play with DeepSpeech and/or Kaldi)
- Ethernet Cable
- Airlink Mini-USB Adapter (optional — see below)
- Micro-USB Cable
- USB Wall Charging Adapter
- Speakers that work through the Raspberry Pi audio jack (probably need to be self-powered)
The Raspberry Pi Verified Peripherals List may be helpful for finding substitutes for the products recommended above.
*note that just about any USB or HAT microphone will work. Getting good audio quality is very important for Naomi to be able to hear you clearly (it can't read lips -- yet). Using a USB webcam with an integrated microphone is a good choice since it includes both clear, far field listening and the possibility of giving your Naomi sight. A conference phone that includes both a speaker and microphone and some noise cancellation between them is also a good choice that can reduce the tangle of wires around your Raspberry Pi.
As mentioned above, the wireless adapter is optional. Naomi runs just fine on a wired connection (via ethernet) and does not require an always on connection to the internet. The wireless adapter allows you to access the Raspberry Pi from another computer.
Recommended Setup
We also provide a preconfigured image for the Raspberry Pi, with the latest build of Naomi and many useful software components. The image provided by the Naobian project is based on Raspberry Pi OS (previously referred to as Raspbian) and under constant improvement.
Check out more details about Naobian, the hassle-free Naomi setup.
Manual Setup
If you want or need to set up Naomi on a Raspberry Pi by yourself, please follow these recommendations. For the beginning, we recommend to download and install the latest Raspberry Pi OS SD card image. You may choose the "Lite" version.
Attention: As of the November 2016 release, Raspbian and now Raspberry Pi OS has the SSH server disabled by default. You will have to enable it manually. For headless setup, SSH can be enabled by placing a file named "ssh", without any extension, onto the boot partition of the SD card.
Connecting: Get your SD card and network cable plugged in and power up. To connect with an SSH client (like Putty), you need to know the IP address or hostname of your device. A standard Raspberry Pi OS setup should be reachable either by the hostname "raspberrypi" or though the local domain name "raspberrypi.local". If you are not able to connect, check your routers web frontend for newly connected devices.
First Steps:
Connected via SSH, execute the Raspberry Pi OS configuration menu by running sudo raspi-config.
Go through the following steps:
- Expand the file system
- Change your password
- (Change the host name if you wish, e.g. "naomipi")
- Restart
As a good practice, run a full upgrade and install packages you like or need:
sudo apt-get update
sudo apt-get upgrade
Note on Python: Raspbian in the latest full version already includes Python 2 and Python 3. However, at the time of setup, the Naomi install updates and downloads Python just to be safe.
Installation: To get Naomi up and running all you need to do is follow the steps described on the download page for RaspberryPi and the version you would like to use.